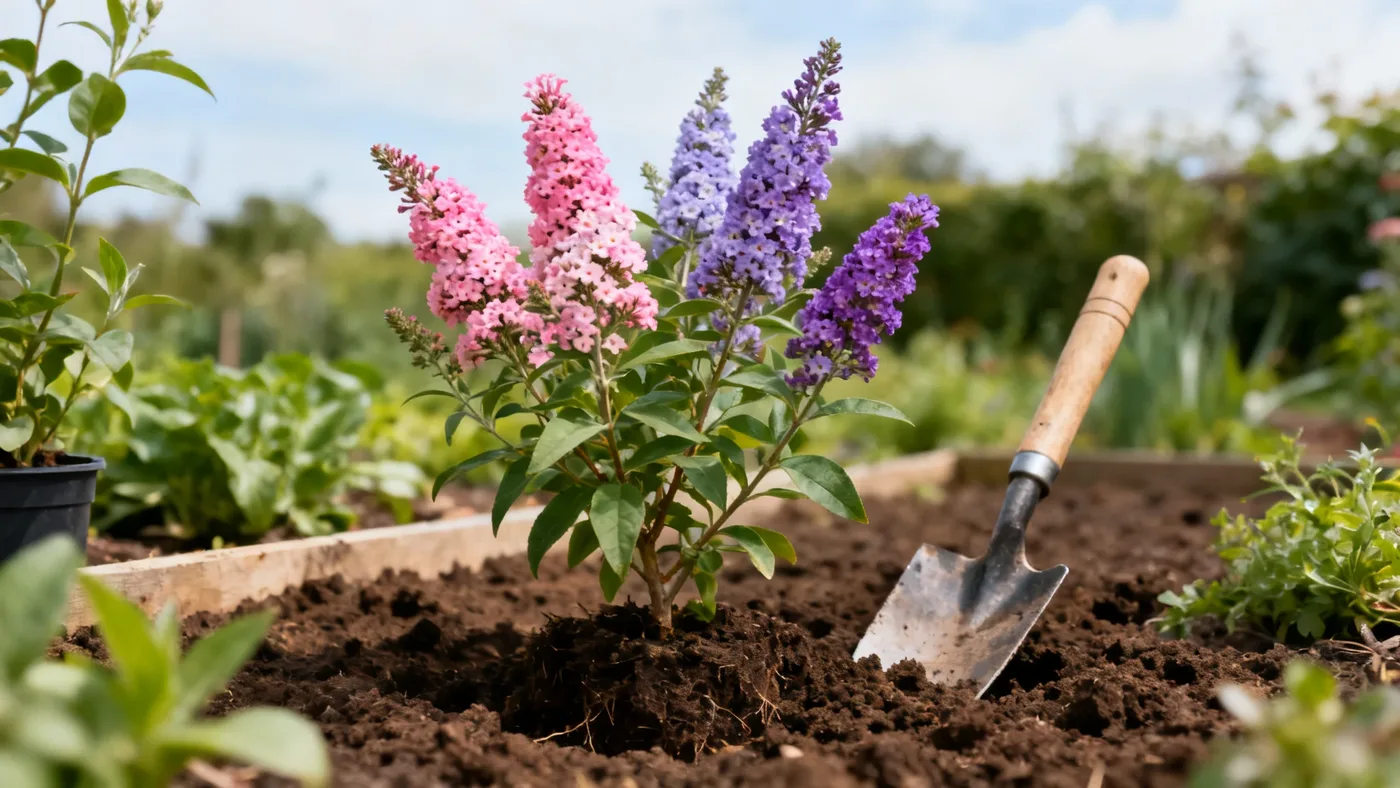
How to Plant a Bicolor Butterfly Bush the Right Way
A well-planted bicolor butterfly bush gets off to a strong start and delivers years of fragrant blooms and pollinator activity. The good news: planting is straightforward if you follow a few key steps. This guide walks you through the exact process, from site selection through getting your plant established.
When to Plant Bicolor Butterfly Bush
Timing matters more than most gardeners realize. In zones 5 through 9, spring is your best window: plant after your last frost date when soil is workable and has warmed slightly. Aim for early spring when the plant is still dormant but soil conditions allow digging.
If you live in zones 7, 8, or 9, fall planting also works well, giving roots a chance to establish over winter. However, in zones 5 and 6, stick to spring planting only. Fall-planted specimens in these colder zones may not survive their first winter.
Never plant a bicolor butterfly bush in frozen or waterlogged soil, even if a spring day feels warm. Soggy ground invites root rot before the plant even has a chance to settle in.
Choosing the Right Planting Location
Bicolor butterfly bush demands full sun: a minimum of 6 hours of direct sunlight each day, ideally 8 or more. Plants in part shade will still grow, but blooms thin out and the overall habit becomes leggy and sparse. If your garden has morning sun and afternoon dappling, that is not enough. The plant needs unobstructed sun for most of the day.
Avoid low-lying spots where water pools after rain. While the bicolor butterfly bush tolerates drought once established, it despises waterlogged soil. A raised bed or a spot that drains within an hour of heavy rain is ideal.
Choose a location with good air circulation to help prevent powdery mildew in humid climates. Avoid planting in a dense, crowded border or against a wall where air stagnates.
Soil Preparation and Drainage
The bicolor butterfly bush grows in average, well-drained garden soil without fussing. You do not need rich, amended beds. However, the soil must drain well. If you have heavy clay soil, work in 1 to 2 inches of compost or aged bark mulch to improve structure. Do this in the planting area at least a few days before planting, so amendments have time to settle.
Test your soil pH if you can; the plant thrives between 6.0 and 7.5. If your soil is acidic or alkaline well outside that range, amending is worthwhile, though the plant is generally forgiving.
If drainage is a persistent problem on your property, build a small mound or raised bed at least 4 to 6 inches high and plant into that. The extra elevation keeps roots out of standing water during wet spells.
What You'll Need Before You Start
- A healthy bicolor butterfly bush plant (usually sold in quart, #1, or #3 containers from the nursery)
- Compost or aged bark mulch (optional, but improves drainage and moisture retention)
- A spade or shovel
- A hand trowel
- A watering can or garden hose
- Balanced fertilizer (optional; use only in spring if soil is poor)
- Pruning shears (for trimming broken roots or foliage if needed)
- Landscape fabric or cardboard (optional, if you want to suppress weeds around the planting hole)
Step-by-Step Planting Instructions
Step 1: Dig the Planting Hole
Dig a hole roughly twice the width of the root ball and just as deep. If your root ball is 1 foot wide, the hole should be about 2 feet wide and 1 foot deep. This gives the roots room to spread out and establish without cramping.
Loosen the walls of the hole by roughing them up with your spade. Smooth, compacted walls can hinder root penetration. If you are digging into clay, roughing the sides makes a real difference.
Step 2: Prepare the Hole and Amend if Needed
If your soil drains poorly, mix compost or aged mulch into the soil you just dug out, using a 1:1 or 2:1 ratio (1 part amendment to 1 or 2 parts native soil). This is your backfill mix. If drainage is not a concern, you can use native soil with minimal amendment.
Do not add fertilizer to the planting hole. Fertilizer can burn tender roots. You will feed the plant in spring once it has settled.
Step 3: Remove and Inspect the Plant
Gently remove the bicolor butterfly bush from its container and set it beside the hole. Loosen the root ball by hand, especially around the edges and bottom. If roots are tightly wound (root-bound), use pruning shears to make 3 or 4 shallow vertical cuts around the root ball, cutting only into the outer layer of roots. This encourages outward growth.
Inspect the roots for signs of rot or disease. Healthy roots are white or light tan and flexible. Brown, mushy roots signal a problem. If rot is mild (affecting only the outer layer), trim away damaged portions with clean shears and proceed. If rot is extensive, return the plant to the nursery for a replacement.
Step 4: Plant at the Correct Depth
Position the bicolor butterfly bush in the hole so the top of the root ball is level with the ground surface. Never bury the stem or crown deeper than it was in the container. Planting too deep promotes stem and root rot. If the plant looks shallower than you want after settling, backfill carefully and water to encourage soil contact, do not replant.
Step 5: Backfill and Firm the Soil
Use your prepared backfill mix (or native soil if amendments were not needed) to fill the hole halfway. Tamp the soil gently with your foot to remove air pockets, but do not compress it hard.
Fill the hole the rest of the way with backfill. Firm the soil again lightly. The goal is good contact between roots and soil without creating a brick-hard perimeter that water cannot penetrate.
Step 6: Water Thoroughly
After backfilling, water deeply and slowly. Pour enough water to soak the entire planting area, including the root ball and surrounding soil. The water helps settle soil around the roots and eliminates air pockets. A slow soaking is better than a hard spray, which can compact soil.
Let the water drain completely. If the ground settles noticeably, add a bit more backfill to bring the surface level again. Do not create a depression around the base; water pooling there can invite rot.
Step 7: Apply Mulch and Set Spacing
Spread 1 to 2 inches of mulch (wood chips or aged bark) around the base of the plant, keeping it 2 to 3 inches away from the stem. Mulch regulates soil temperature and moisture while suppressing weeds. Do not pile mulch against the stem; this traps moisture and invites fungal issues.
If you are planting multiple bicolor butterfly bushes, space them 4 to 6 feet apart to allow room for mature width. This spacing prevents crowding and ensures good air circulation.
The First Few Weeks: Establishment Care
Right after planting, water every 2 to 3 days if there is no rain. Newly planted specimens have limited root reach and need consistent moisture while roots spread into surrounding soil. After 2 to 3 weeks of regular watering, taper back to once weekly unless the weather is unusually hot and dry.
By the end of the first full growing season, the bicolor butterfly bush is typically drought tolerant. Established plants need water only during extended dry spells (more than 2 weeks without rain).
Do not fertilize at planting. In spring of the following year, apply a light feeding of balanced fertilizer (equal nitrogen-phosphorus-potassium ratios work well). Over-fertilizing promotes leggy, leafy growth at the expense of blooms.
Tips and Common Mistakes
Mistake: Planting in Part Shade
Bicolor butterfly bush in less than 6 hours of sun will bloom sparsely and develop a weak, open habit. If your site gets afternoon shade, find another location. The extra effort to move it now is worth avoiding years of disappointing blooms.
Mistake: Planting Too Deep
A common error: gardeners dig a deep hole and accidentally bury the stem several inches below soil level, thinking the plant will look more stable. The opposite happens. Deep planting stresses the plant and invites rot. Keep the top of the root ball at ground level, no deeper.
Mistake: Overwatering
While the bicolor butterfly bush needs consistent water during establishment, it loathes soggy soil. Once rooted, it is quite drought tolerant. Overwatering, especially in heavy clay, is a more common cause of failure than underwatering. Water when the top inch of soil feels dry to the touch.
Tip: Plant in Spring for Best Results
Although fall planting works in zones 7 through 9, spring planting is safer everywhere. A spring-planted specimen has an entire growing season to establish roots before winter stress.
Tip: Check Local Regulations
The parent species Buddleja davidii (of which your bicolor form is a cultivated variety) is regulated or restricted in some regions, particularly the Pacific Northwest and the UK, due to prolific self-seeding. Before planting, check with your local extension service or nursery to confirm there are no local restrictions. If regulations apply in your area, ensure you deadhead spent flower spikes regularly to minimize seed spread.
Tip: Prepare for Fast Growth
Plan for rapid growth: expect 2 to 3 feet of new growth each year on an established plant. Space accordingly and leave room for annual hard pruning. Hard pruning in late winter (cutting to 12 to 18 inches from the ground) keeps the plant compact and promotes abundant blooms on new wood.
What to Expect
A properly planted bicolor butterfly bush may produce a few flowers in its first year from a quart-sized container, though full blooming typically arrives by year two. By year three, the plant reaches its mature size (5 to 8 feet tall and 4 to 6 feet wide, depending on your climate zone) and blooms reliably from early summer through fall. The exact bloom window runs June through September or October, depending on your region's last frost date and whether you prune and deadhead during the season.
The plant attracts butterflies, hummingbirds, and bees from the moment it blooms. The flowers emit a sweet, honey-like fragrance, strongest on warm, still days.
Quick Reference: Planting Checklist
| Task | Details |
|---|---|
| When to Plant | Spring after last frost (all zones 5-9); fall also works in zones 7-9 |
| Best Sun Exposure | Full sun, minimum 6 hours daily, 8+ preferred |
| Soil Type | Well-drained, average garden soil (pH 6.0-7.5) |
| Hole Size | Twice the width of root ball, same depth |
| Planting Depth | Top of root ball level with ground surface |
| Spacing | 4 to 6 feet apart for mature width |
| Mulch Depth | 1 to 2 inches, 2-3 inches away from stem |
| Initial Watering | Every 2-3 days for first 2-3 weeks if no rain |
| First-Year Fertilizer | None; light balanced feeding in spring of year 2 |
| Expected Maturity | Full size and blooming by year 3; some flowers year 1 |
For ongoing care after planting, including annual pruning, deadheading, and seasonal management, see our complete growing guide.